Here you will be able to follow along to this step by step guide and setup a WordPress Blog in under 15 minutes! If you’re planning on using your blog to become a side business or perhaps a main source of income for yourself in the future you will want to have a self hosted blog. If you’re unsure of what self hosted blog means, basically you will be self hosting your own domain and blog on a server. Having a blog that is self hosted gives you full control of the website, plugins, domain name, advertisements, and anything and everything that goes on with your blog! Anyone can make money blogging so a small initial investment in blog hosting is a necessity. I’m positive you can earn your money back quickly.
Bluehost is one of the top web hosting providers worldwide with great rates. You can start your blog with them for as low as $2.95 per month (through this link!) After you click the link you will also get a FREE domain name with your purchase! I recommend going for the 12 month plan or if you want the best deal signing up for the 36 month plan will give you the cheapest possible plan.
Here are some pros for Bluehost:
- WordPress is 1 Click to install
- Bluehost has great technical support for Email, Chat Message or Calling
- 2.95/Month is a great deal, cheaper then most coffee’s at Starbucks!
- You get a FREE domain!
- A Self Hosted blog looks professional for your readers compared to Blogger etc
- A Self Hosted blog allows you to control your content and advertisements if you plan to monetize your website
1) Register your Domain Name
The first step is thinking of a domain name you would like to use for your blog. Creating a name for your blog can be challenging and time consuming. I suggest brain storming some ideas on a piece of paper and thinking about what your blog will be about. If you are creating a lifestyle blog you could always use your name. If you are focusing on a certain niche or topic you could use keywords from that and work it into the name.
You are able to register a domain name on multiple websites but I recommend going through Bluehost if you are planning to use there hosting services as you will receive a FREE domain if you sign up for the 12 month subscription. The best deal for your monies worth would be to do the 3 year plan but that is optional.

2) Buy Hosting
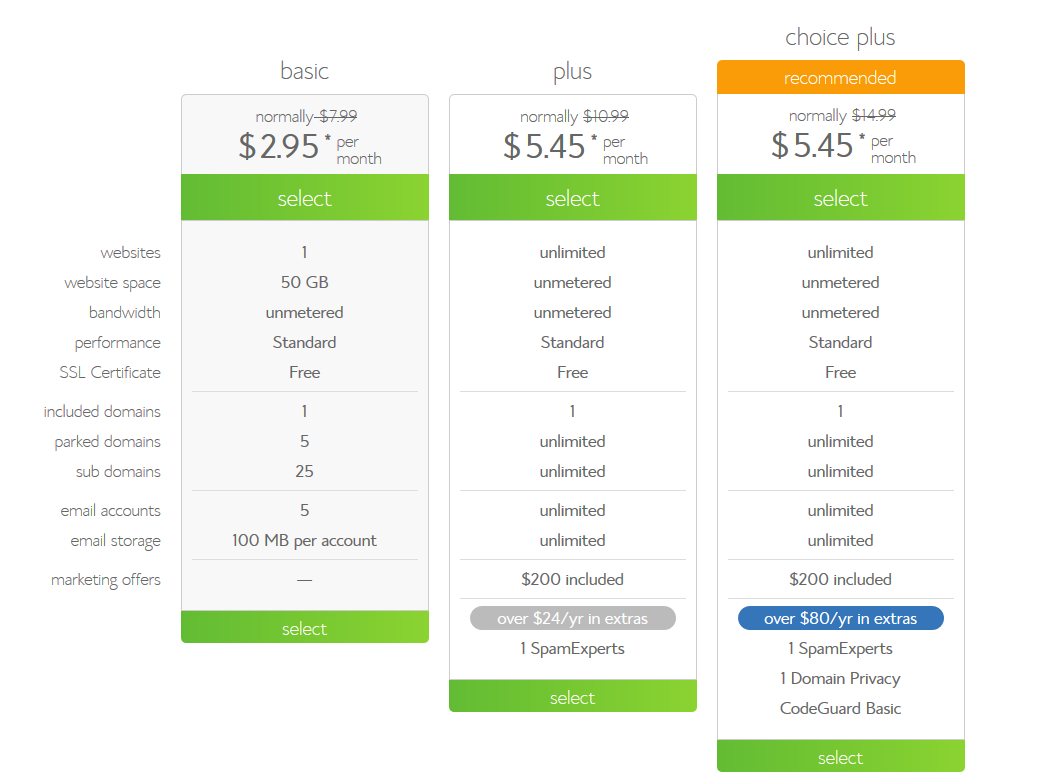
When purchasing your web hosting from Bluehost I recommend just going for the Basic plan as you are just starting out and won’t require any more. You can always upgrade later! Remember to sign up for the 12 month package as it’ll give you discounted rate as well as a FREE domain name. The 3 year plan will be the most cost effective at around $109 for 3 years which is an amazing deal! I STRONGLY recommend you purchase domain privacy when signing up as well!!! Domain Privacy will keep your personal information hidden from the domain name registrar so you won’t receive any spam email or phone calls.
Here’s a quick step by step walk through
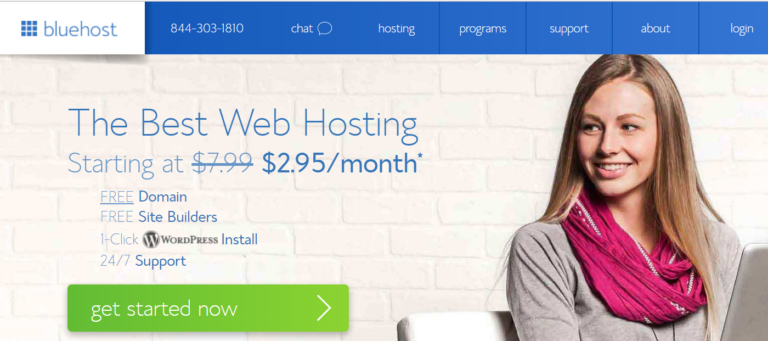
- Go to Bluehost and click the green “Get Started Now” button
- Select the package plan you are interested in
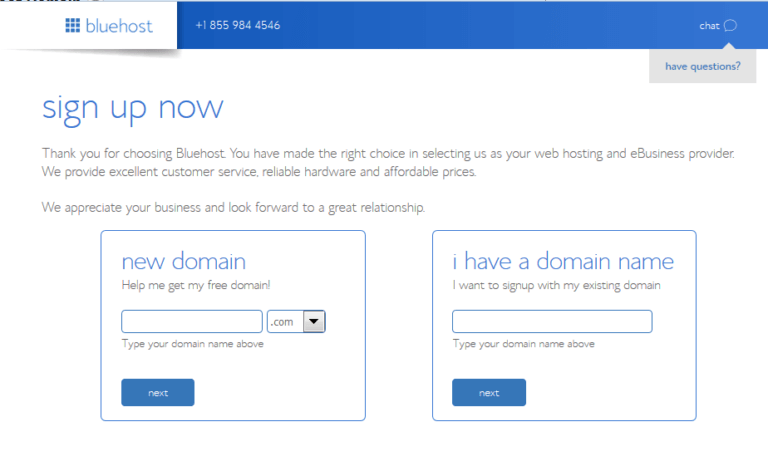
- Enter your domain name or register the domain name here on this page
- Enter your personal/website information and payment information
- Next enter your password for your Bluehost account

Any questions you can get a hold of me by using the contact form and I’ll be sure to help you out!
3) Install WordPress

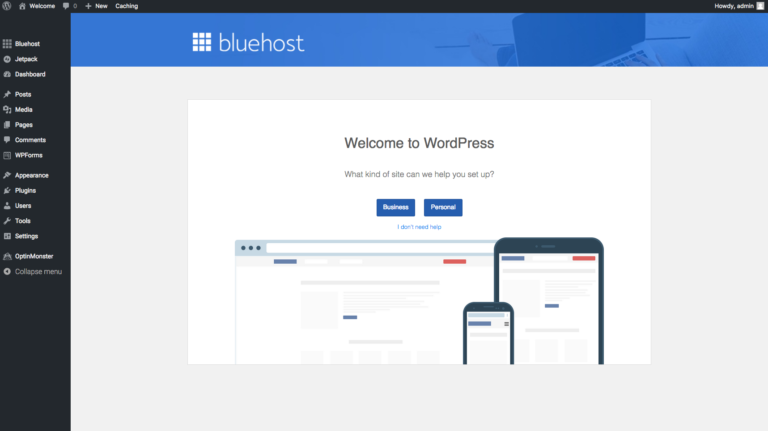
This is the last step to installing wordpress on your new hosting! Bluehost makes it extremely simple and quick. Inside your account or on your Cpanel you will see a button that says Install WordPress. Select Business or Personal in the setup. After Bluehost will ask you to pick a theme, you can just pick a random theme if you like to finish the setup. Congratulations you now have a wordpress blog! Now your next steps will be to start creating quality content in your posts. You can also start to browse themes and play with plugins and customize your blog to your style!

